In the previous tutorial, you learned how to load an existing Spriter animation into your Glue project. But, what if you don't have an existing file? Glue makes this workflow simple!
In Glue, choose an existing screen or add a screen by right clicking on "Screens" and selecting "Add Screen"
Right click on Files, and choose add file, new file:
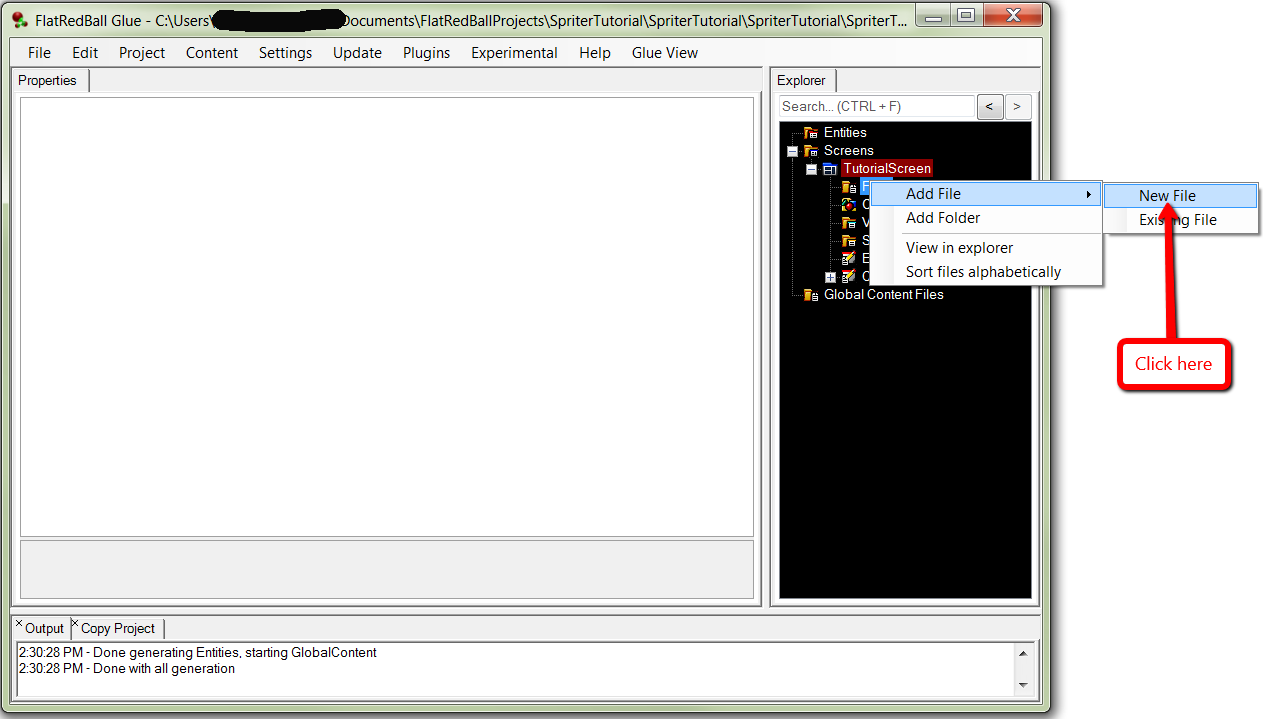
In the file type dropdown, choose SpriterObjectCollection (.scml):
Choose a name and click OK
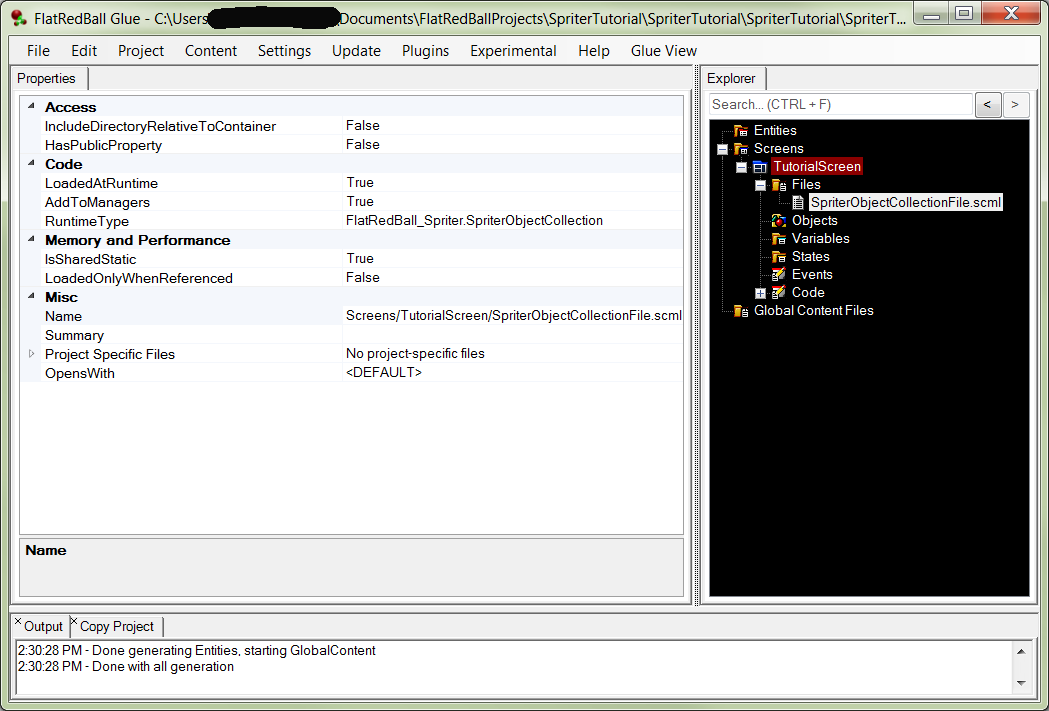
You should see the following in the files area:
PRO TIP: From here, you can double click player.scml to open the animations in Spriter.
The file is now added and will load in game, but the animation will not play without adding a line of code to the screen's CustomInitialize function
Open up the project in Visual Studio (Click Project, View in Visual Studio)
Add the following line to your Screen's CustomInitialize function:
SpriterObjectCollectionFile.StartAnimation();
Now when you edit this animation, changes will be reflected in your game.
That's all there is to adding new animation files into screens.
NOTE: This method of loading Spriter files generates a SpriterObjectCollection object in your code. While it does work in this case, it only makes sense because the example file has one Spriter entity. If the example had multiple Spriter entities in the SCML file, you would see animations overlapping.
The plugin allows for loading single Spriter entities out of a single Spriter file, which I will cover in a later tutorial.